![[healey]](ahcusa.gif)
Project Page Two
No, that's not me in the photo. That's my son wondering how much longer this project is going to take. He was eight years old when I dragged the car home, and now he's almost fifteen. I imagine by now he's probably hoping this will all come together once he's obtained his drivers liscense......
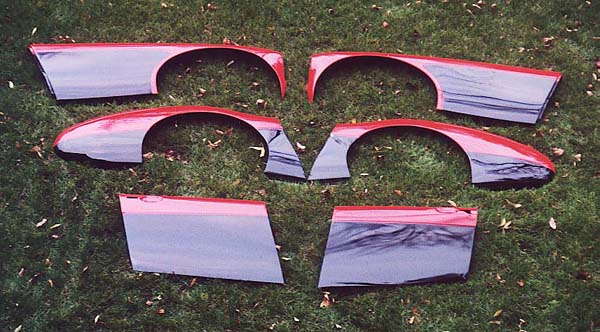
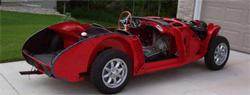
This photo was taken right after the priming, sanding, and sanding, and sanding, and sanding, and then two different colors of paint. I use PPG Delstar polyurethane paint and a Binks 2001 HVHP (high volume high pressure) paint gun. The paint flows beautifully out of this gun, and it (the paint) is very durable. It is also very resistant to stone chips and chemicals. This paint can be clear coated after wet sanding with 1500 - 2000 grit sandpaper, but for personal reasons I choose not to. The finish is very beautiful without a clear coat. This is a 1957 British roadster, and clear coat paint was not used back then.
I painted each panel with black paint first, then wet sanded the upper portion with 600 grit sandpaper. Next, I masked the lower portion before applying the red color. I applied a tape line approximately 1/8" below the intended paint line, and then used second strip of tape right at the paint line. The layer of tape at the paint line was then very carefully removed shortly after I shot the last wet coat of paint. I had to be sure the paint had cured enough (tacky but no longer wet) so that it wouldn't pull a string of paint while pulling the tape off. If done correctly, the second color of red paint was able to flow into the black paint leaving no visable tape line.
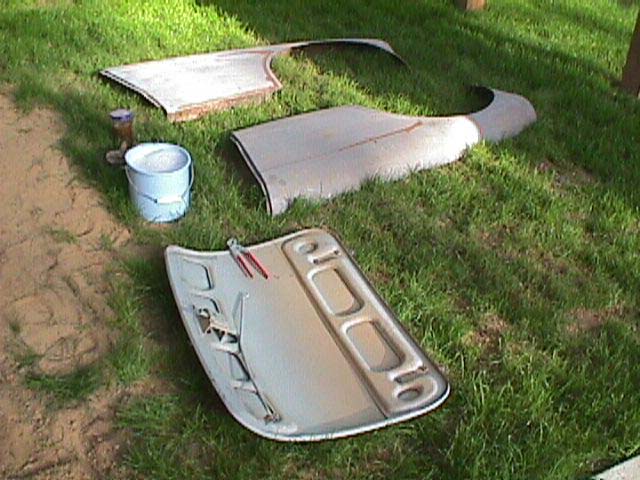
Here you see some very old primer on these parts. These parts were laid out shortly before I started applying aircraft paint stripper to remove layers upon layers of old primer and paint. Amazing what you find underneath all those layers.....
The photo to the right shows all of the steel body panels laid in my back yard after stripping and treating with Oxysolve. Oxysolve is a Phosphoric acid product that is sold by The Eastwood Company (www.eastwood.com). This product disolves all of the leftover oxidation (microscopic) and leaves a very nice paintable zinc phosphate coating on the surface which is a very desirable surface for the next coating, the primer. I use PPG DP epoxy primer, then PPG K36 sandable primer. I did not use the zinc chromate pre-wash on the wings and doors.
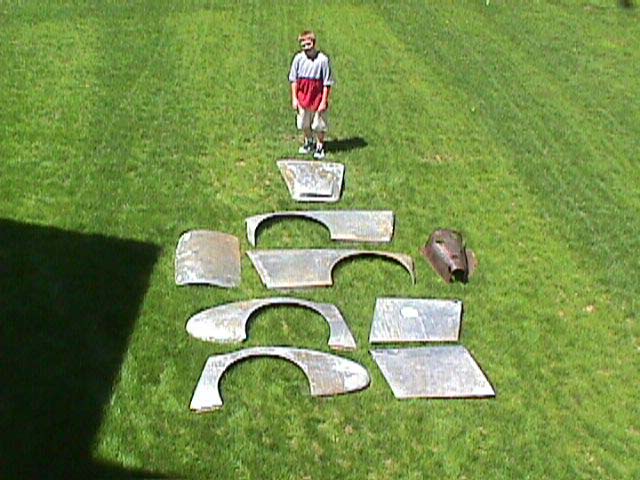
Here's another shot of my son standing in front of the body parts wondering how much longer this project is going to take. Fortunately, we're both seeing the light at the end of the tunnel. In this photo he's fifteen years old. I think he has some serious designs for this car, and I'm thinking about good places to hide the keys.
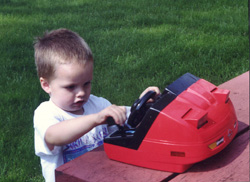
This is an early photo of my son preparing for his first drive in a real British car. It doesn't hurt to start 'em early....
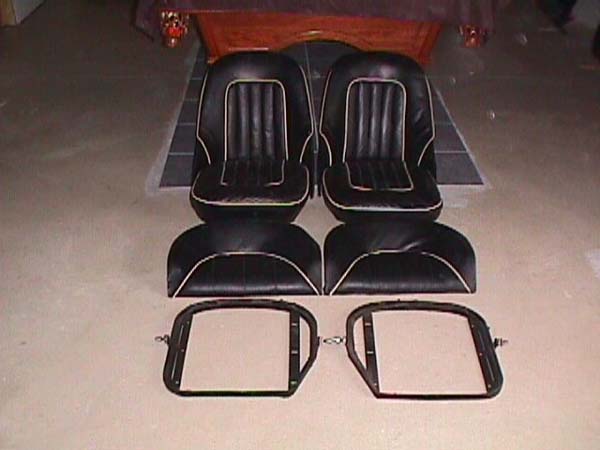
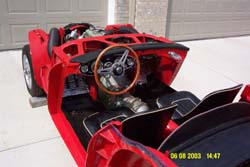
My car came to me with a pair of aftermarket plastic molded ?racing? seats, so I was faced with finding some correct seats to take their place. I located these "like new" original leather seats from a BT7 that had been wrecked in 1963 with only 6,906 miles on the clock. The car was imediately stored away, and wasn't to see the light of day until almost forty years later. When it was dragged out of the darkness, it was deemed unrepairable, and sold to a resaler who parted the car and all of its parts. Fortunately the seats found a car that needed a donor, and they will be apprecaited for many years to come.
Sometimes finding places to store parts while they're awaiting their turn for assembley can be a challenge. My wife wouldn't allow me to hang them in the living room or the bedroom, so I had to find a suitable place in the basement.

Art deco?

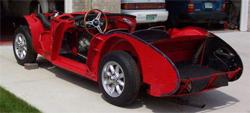
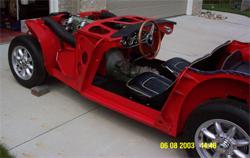
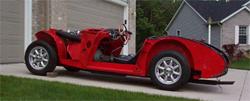
The girls are beginning to line up for a ride.....


![[Official Logo]](bcwlogo.gif)
Back to main page�2002 [email protected]